For the complete documentation index, see llms.txt. This page is also available as Markdown.
Configure Safe Drop and Safe Loan Keys on POS Terminal
Once an In-House MOP has been created, it must be assigned to a key on a POS touch screen.
1
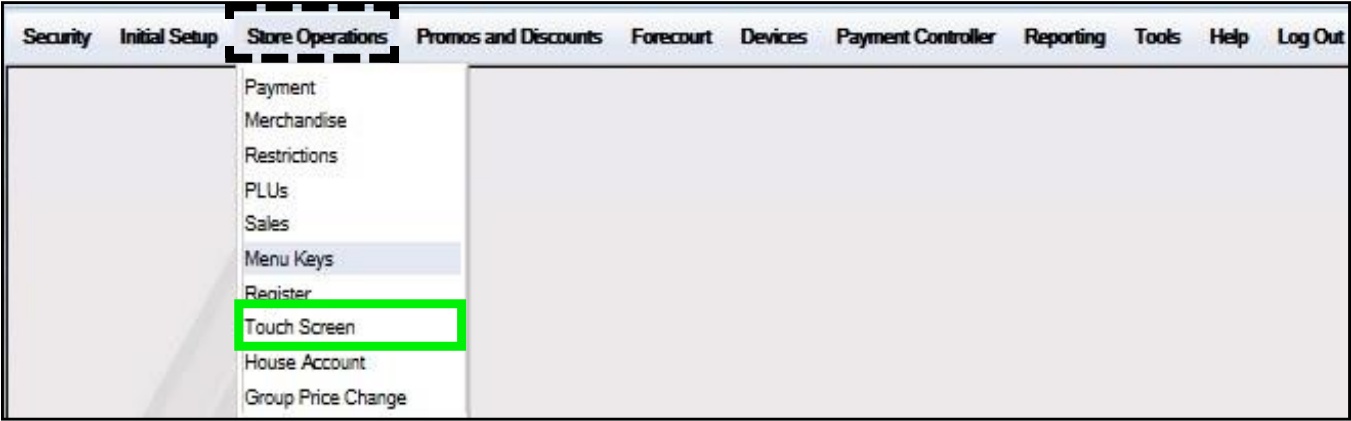
Go to Touch Screen
From the Config Client, go to: Store Operations > Touch Screen.
2
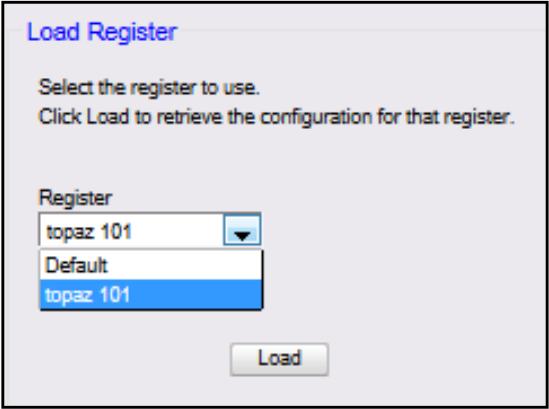
Select a register
At the Select Register window, select the <Register> to be configured.
Click [Load].
The Load Register option allows for individual registers to be configured at a time. The Default register is never used for configuration.
3
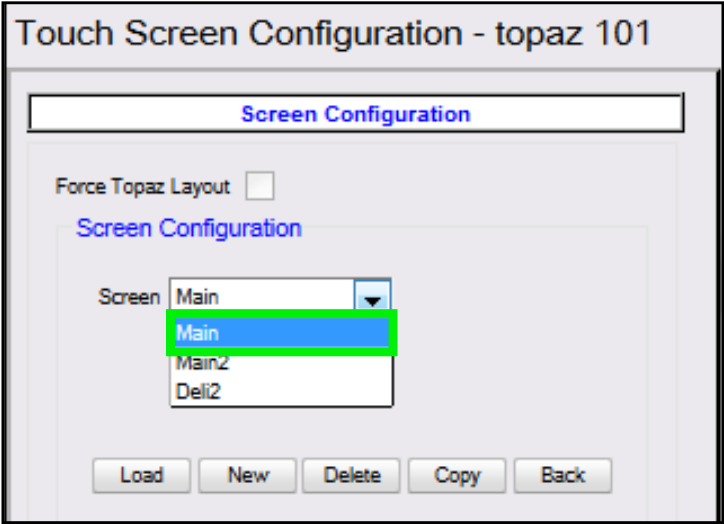
Select a screen
Select the <Screen> to configure.
Click [Load].
The Modify Screen will load for the screen selected.
4
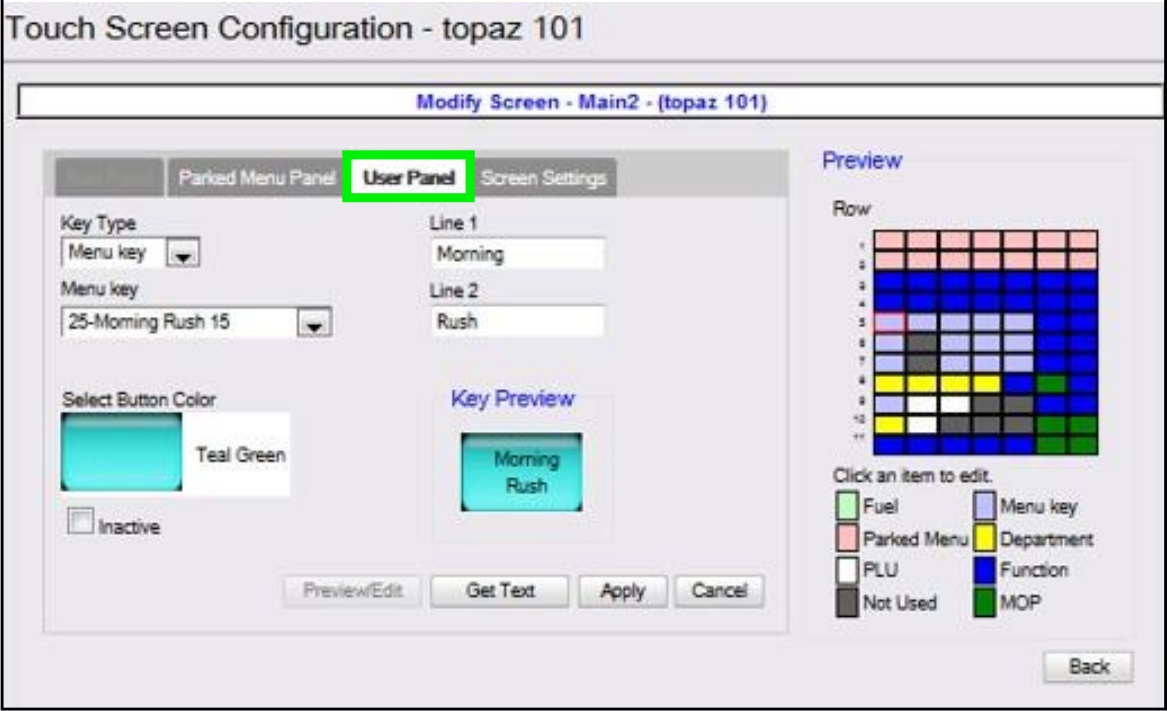
Select the User Panel tab
Click the [User Panel] tab.
The User Panel is used to assign the touch screen menu keys for departments, functions, menus, method of payments and PLUs.
5
Select an available key
From the Preview section, click an available <Key> to configure. The selected menu key highlights in Red.
The Legend identifies the Key Type; Function Keys are Blue.
6
Set the button color
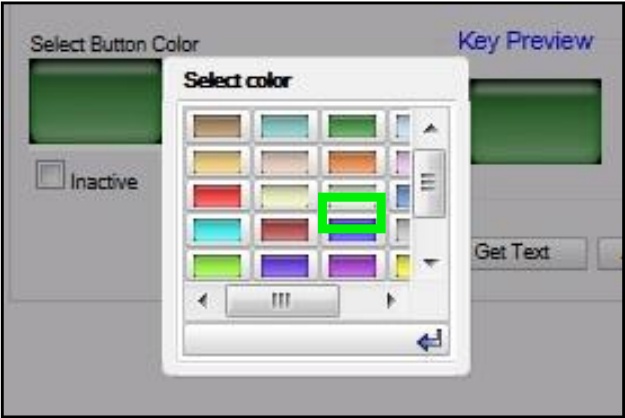
Click on [Select Button Color] and select [Blue].
7
Configure the Safe Drop function
Select [Function] for the Key Type.
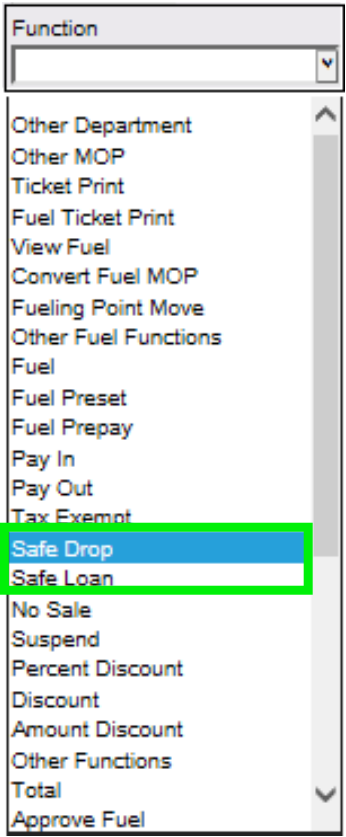
From the Function drop down, select [Safe Drop].
8
Save and test
Select [Apply].
Select [Save] to accept, or [Cancel] to exit without saving changes.
Test the Safe Drop Key.
9
Configure the Safe Loan key
Repeat the same process to setup a Safe Loan Key. The primary difference is to select a different key on the touchscreen to configure and select [Safe Loan] as the function type.